← Back to Blog
Implementing a User DB with Supabase
tudy.clubDdev
Implementing a User DB with Supabase
A step-by-step guide to migrating from NextAuth to Supabase Auth in Next.js, covering auth setup, user DB management, and Google OAuth integration.
•4 min read
#Claude#Supabase
Implementing a User DB with Supabase
Migrating from NextAuth to Supabase Auth in Next.js
When I built gaemi.world, I intentionally left out a database. All the stock data was coming from external APIs, and there wasn't really a reason to store user info. Just slapping on Google login with NextAuth and managing sessions was good enough.
The initial goal was simple: just make it work as a Watchlist! After hitting that milestone, the app was set up so anyone could use it with login already built in. But when I tried to check who was actually using it... turns out login worked, but there was literally nowhere that recorded who logged in. I had analytics set up, but you can't fully trust that data.
So when I decided to properly add a database, I swapped out the entire auth system while I was at it. Setting up a separate DB felt like a hassle, and with Supabase, Auth and DB come bundled together -- when a user logs in, they're automatically saved. No schema definitions needed, and you can see your user count right from the dashboard. Exactly what I wanted.
Why Supabase?
- User DB is automatically managed (check signups right from the dashboard)
- Auth + DB all-in-one
- Start immediately without Prisma schema definitions
- Free tier is more than enough
1. Swap Packages
# Supabase 설치
npm install @supabase/supabase-js @supabase/ssr

# NextAuth + Prisma 제거
npm uninstall next-auth @auth/prisma-adapter @prisma/client prisma
2. Create a Supabase Project
supabase.com → Create a New Project and grab your keys:
- Settings → API Keys:
sb_publishable_...(Publishable key) — replaces the old anon keysb_secret_...(Secret key) — replaces the old service_role key
Claude will tell you to enter the anon key, but since November 2025, new projects no longer have legacy anon/service_role keys. Just use the Publishable/Secret keys.
NEXT_PUBLIC_SUPABASE_URL=https://your-project.supabase.co
NEXT_PUBLIC_SUPABASE_PUBLISHABLE_KEY=sb_publishable_xxx
SUPABASE_SECRET_KEY=sb_secret_xxx
3. Supabase Client Setup (3 files)
src/lib/supabase/client.ts — For the browser
import { createBrowserClient } from '@supabase/ssr';

export function createClient() {
  return createBrowserClient(
    process.env.NEXT_PUBLIC_SUPABASE_URL!,
    process.env.NEXT_PUBLIC_SUPABASE_PUBLISHABLE_KEY!
  );
}
src/lib/supabase/server.ts — For server components/API
import { createServerClient } from '@supabase/ssr';
import { cookies } from 'next/headers';

export async function createClient() {
  const cookieStore = await cookies();

  return createServerClient(
    process.env.NEXT_PUBLIC_SUPABASE_URL!,
    process.env.NEXT_PUBLIC_SUPABASE_PUBLISHABLE_KEY!,
    {
      cookies: {
        getAll() {
          return cookieStore.getAll();
        },
        setAll(cookiesToSet) {
          try {
            cookiesToSet.forEach(({ name, value, options }) =>
              cookieStore.set(name, value, options)
            );
          } catch {
            // Server Component에서 호출 시 무시
          }
        },
      },
    }
  );
}
src/lib/supabase/middleware.ts — For session refresh
import { createServerClient } from '@supabase/ssr';
import { NextResponse, type NextRequest } from 'next/server';

export async function updateSession(request: NextRequest) {
  let supabaseResponse = NextResponse.next({ request });

  const supabase = createServerClient(
    process.env.NEXT_PUBLIC_SUPABASE_URL!,
    process.env.NEXT_PUBLIC_SUPABASE_PUBLISHABLE_KEY!,
    {
      cookies: {
        getAll() {
          return request.cookies.getAll();
        },
        setAll(cookiesToSet) {
          cookiesToSet.forEach(({ name, value }) =>
            request.cookies.set(name, value)
          );
          supabaseResponse = NextResponse.next({ request });
          cookiesToSet.forEach(({ name, value, options }) =>
            supabaseResponse.cookies.set(name, value, options)
          );
        },
      },
    }
  );

  await supabase.auth.getUser();
  return supabaseResponse;
}
4. Create a useAuth Hook (replacing useSession)
// src/hooks/useAuth.ts
'use client';

import { useEffect, useState } from 'react';
import { createClient } from '@/lib/supabase/client';
import type { User } from '@supabase/supabase-js';

export function useAuth() {
  const [user, setUser] = useState<User | null>(null);
  const [loading, setLoading] = useState(true);
  const supabase = createClient();

  useEffect(() => {
    supabase.auth.getUser().then(({ data: { user } }) => {
      setUser(user);
      setLoading(false);
    });

    const { data: { subscription } } = supabase.auth.onAuthStateChange(
      (_event, session) => {
        setUser(session?.user ?? null);
        setLoading(false);
      }
    );

    return () => subscription.unsubscribe();
  }, []);

  const signInWithGoogle = () => {
    supabase.auth.signInWithOAuth({
      provider: 'google',
      options: {
        redirectTo: `${window.location.origin}/auth/callback`,
      },
    });
  };

  const signOut = async () => {
    await supabase.auth.signOut();
    setUser(null);
  };

  return { user, loading, signInWithGoogle, signOut };
}
5. OAuth Callback Route
// src/app/auth/callback/route.ts
import { NextResponse } from 'next/server';
import { createClient } from '@/lib/supabase/server';

export async function GET(request: Request) {
  const { searchParams, origin } = new URL(request.url);
  const code = searchParams.get('code');

  if (code) {
    const supabase = await createClient();
    await supabase.auth.exchangeCodeForSession(code);
  }

  return NextResponse.redirect(origin);
}
6. Update Middleware
// src/middleware.ts
import { NextRequest } from 'next/server';
import { updateSession } from '@/lib/supabase/middleware';

export async function middleware(request: NextRequest) {
  return await updateSession(request);
}

export const config = {
  matcher: [
    '/((?!_next/static|_next/image|favicon.ico|.*\\.(?:svg|png|jpg|jpeg|gif|webp)$).*)',
  ],
};
7. Update Component Usage
Before (NextAuth):
import { useSession, signOut } from 'next-auth/react';

const { data: session, status } = useSession();
const name = session?.user?.name;
After (Supabase):
import { useAuth } from '@/hooks/useAuth';

const { user, loading, signOut } = useAuth();
const name = user?.user_metadata?.full_name;
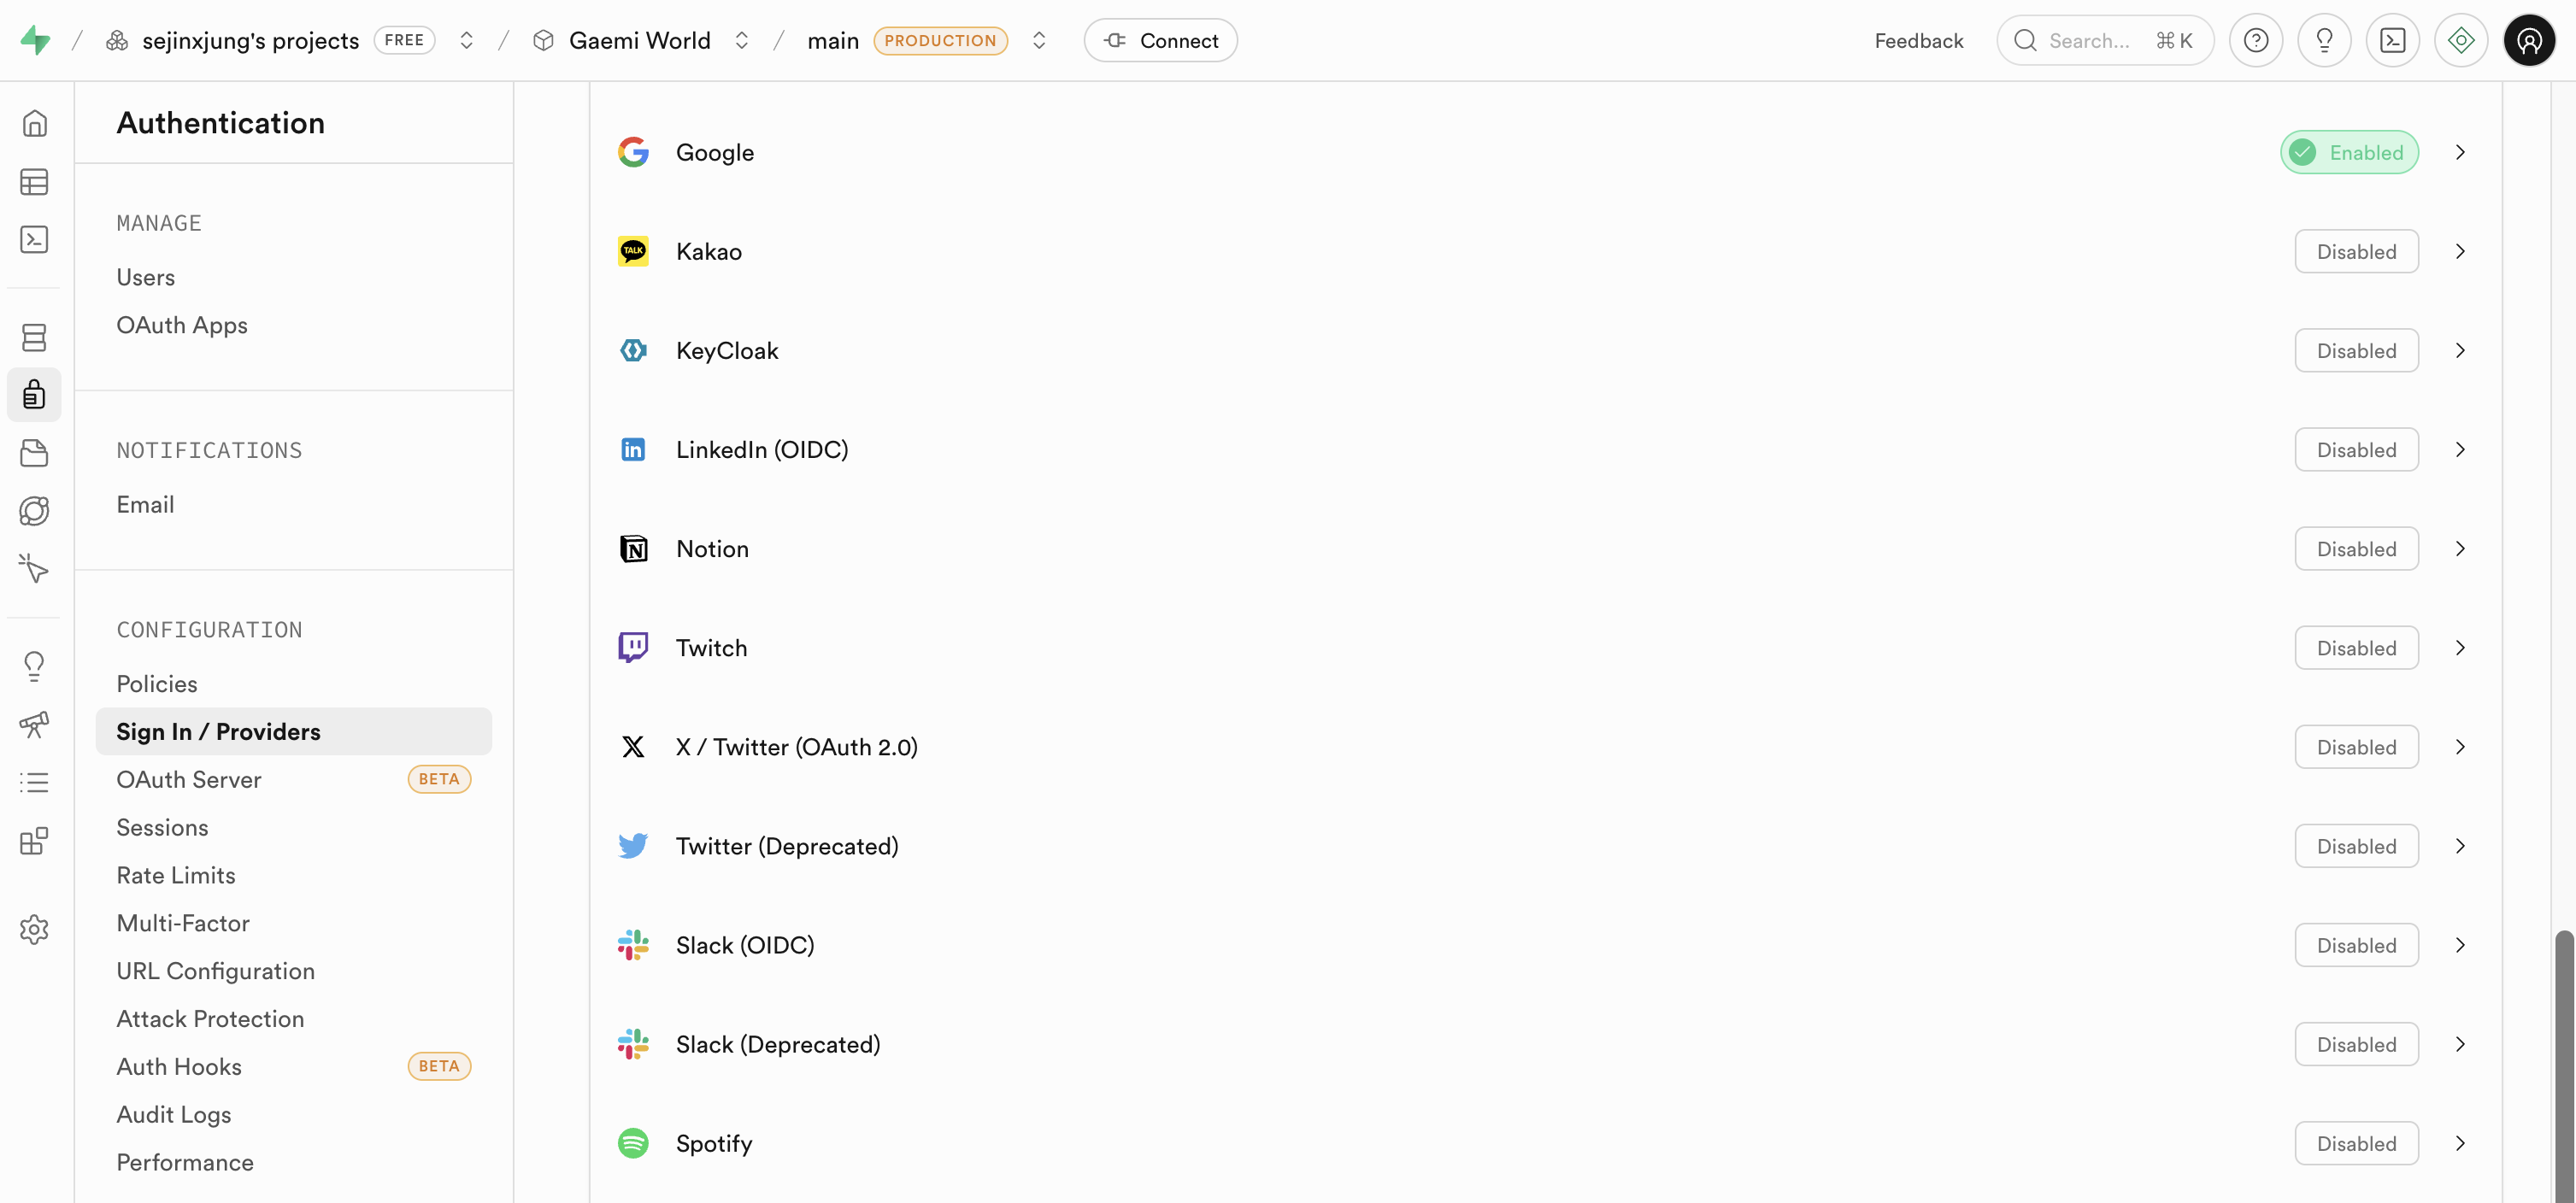
8. Connect Google OAuth (Manual)
-
Supabase Dashboard → Authentication → Providers → Google → Enable → Enter Client ID/Secret
-
Authentication → URL Configuration → Site URL: Change
http://localhost:3000tohttps://gaemi.world -
Add to Redirect URLs:
https://gaemi.world/auth/callbackhttps://gaemi.world/**(using a wildcard keeps things simple)
-
Google Cloud Console → Add to the authorized redirect URIs for OAuth:
https://console.cloud.google.com/apis/dashboardconsole.cloud.google.comhttps://your-project.supabase.co/auth/v1/callback -
Add
NEXT_PUBLIC_SUPABASE_URLandNEXT_PUBLIC_SUPABASE_PUBLISHABLE_KEYto your Vercel environment variables
Result
- Check user signups directly from the Supabase Dashboard under Authentication → Users
- No more wrapping with NextAuth's SessionProvider
- Users are automatically saved without Prisma schema definitions
- Removed 4 packages, added 2 → smaller bundle size
In the end, I removed 4 NextAuth + Prisma packages and added 2 Supabase ones. The bundle got lighter, and now I can see the list of signups and total count right from the Supabase dashboard.
gaemi.world
The gaemi.world project I covered in this post is a portfolio tracking service for Korean investors interested in US stocks. You can see at a glance what major investors like Warren Buffett, Cathie Wood, and Korea's National Pension Service are buying and selling through SEC 13F filings. It also supports portfolio comparison between investors, so you can spot stocks that multiple institutions hold in common or positions where they diverge.
If you invest in US stocks, check it out!
https://www.gaemi.world/
gaemi.world
Written by
J
Sejin Jung
PM & builder. Director of Sapienta.